C, Raylib, and Nix in Neovim
This is a quick guide on how to get up and running with raylib in C using a nix flake to build the project.
Prerequisites
This isn’t a guide on how to get the nix package manager set up on you system and will assume you
have it installed and working. If not, you can find instructions on the
official nix website.
Creating the project
The first thing we’ll need is a project! We can start off by creating a directory and initialising a git repo and a nix flake configuration.
mkdir -p ~/src/my-game
cd ~/src/my-game
git init
nix flake init
This will give us the following default flake configuration (at the time of writing):
{
  description = "A very basic flake";

  inputs = {
    nixpkgs.url = "github:nixos/nixpkgs?ref=nixos-unstable";
  };

  outputs = { self, nixpkgs }: {

    packages.x86_64-linux.hello = nixpkgs.legacyPackages.x86_64-linux.hello;

    packages.x86_64-linux.default = self.packages.x86_64-linux.hello;

  };
}
Setting up the nix flake configuration
Some quick tidy ups for the default configuration will give us a nicer starting point. First, set
the description, then change the nixpkgs.url to use the latest stable version:
{
  description = "Basic raylib game";

  inputs = {
    nixpkgs.url = "nixpkgs/nixos-25.11"; # latest as of writing this article
  };

  ...
}
Now we can clean up the outputs section. We’ll remove the default packages and replace them with
our own which will be in charge of building the game.
{
  # ...
  outputs = { self, nixpkgs }:
    let
      # systems we want to support
      systems = [ "aarch64-darwin" "x86_64-linux" ];
    in
    {
      # Loop over each system and define the package for it.
      packages = nixpkgs.lib.genAttrs systems (system:
        let
          pkgs = import nixpkgs { inherit system; };
        in
        rec {
          mygame = pkgs.stdenv.mkDerivation {
            pname = "mygame";
            version = "1.0";

            # The location of the source code
            src = ./src;

            # Use clang as the compiler
            nativeBuildInputs = [ pkgs.clang ];
            # Define raylib as a build input
            buildInputs = [ pkgs.raylib ];

            # Provide the command to build the game, adding -lraylib to ensure everything gets
            # linked correctly.
            buildPhase = ''
              clang -Wall -lraylib ./main.c -o mygame
            '';

            # Copy the built game into the bin directory for the output package.
            installPhase = ''
              mkdir -p $out/bin
              cp mygame $out/bin/
            '';
          };
        });
}
Lastly, we can tell nix which package to use as the default. As we only have one package per system, we will be using that!
{
  # ...
  outputs = { self, nixpkgs }: let
    systems = [ "aarch64-darwin" "x86_64-linux" ];
    in
    {
      packages = # ...

      defaultPackage = {
        aarch64-darwin = self.packages.aarch64-darwin.mygame;
        x86_64-linux = self.packages.x86_64-linux.mygame;
      };
    };
Great! Now all we’re missing is some source code to build.
Testing the build
Let’s start by creating a basic C program to test the build is working correctly. In src/main.c,
add the following code:
#include <stdio.h>

int main() {
  printf("Hello there\n");
  return 0;
}
Now we have some source code to build, we need to add it to git so that nix can build it. Then we can ask nix to build the package for our current system.
git add .
nix build .
If all went well, you should now have the game binary at result/bin/mygame. If you run it, you
should see the message printed to the terminal!
$ ./result/bin/mygame
Hello there
Setting up a basic raylib application
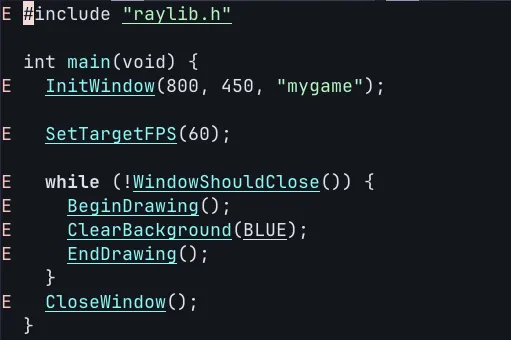
Now that we know our build is working, we can move on to writing some raylib code! We’ll just go with the basic “blue screen” to test that raylib is building and working correctly.
#include <stdio.h>
#include "raylib.h"
int main(void) {
InitWindow(800, 450, "mygame");
SetTargetFPS(60);
while (!WindowShouldClose()) {
BeginDrawing();
ClearBackground(BLUE);
EndDrawing();
}
CloseWindow();
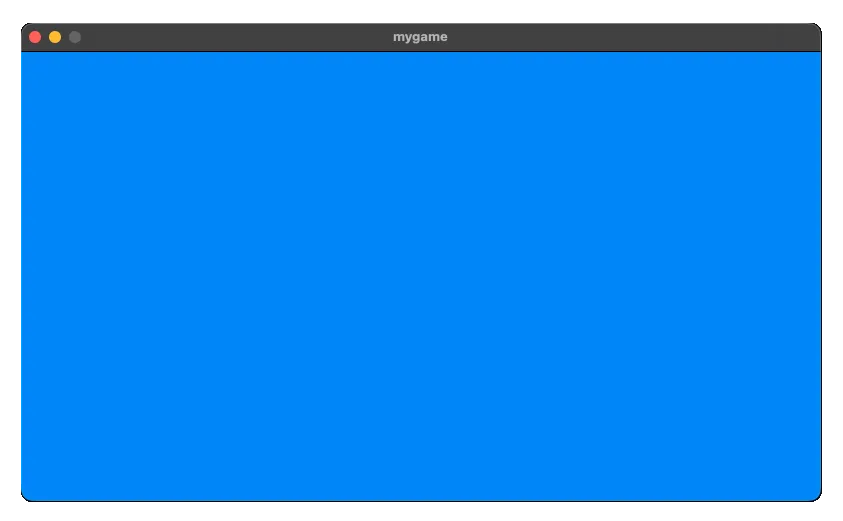
}Here, we’re initializing a window with the title “mygame”, setting the target FPS to 60, and running
the game loop. All we’re doing in the loop is clearing the background using the BLUE colour. If we
build and run it again, we should get an 800x450 window with a blue background!
Great, now we’ve got a basic raylib application being built as a nix flake! Now all that remains is getting set up in Neovim to make working on the code nice and easy.
Setting up Neovim
Making the libraries available
To get neovim working with autocompletion for raylib, we’ll be making use of nix dev shells. This is
a shell that has access to a set of packages that may or may not be available on your system. We can
define a dev shell for each system by adding the following to our flake.nix file:
  outputs = { self, nixpkgs }: let
    systems = [ "aarch64-darwin" "x86_64-linux" ];
    in
    {
      # ...

      devShell = nixpkgs.lib.genAttrs systems (system:
        let
          pkgs = import nixpkgs { inherit system; };
        in
          pkgs.mkShell {
            nativeBuildInputs = [ pkgs.clang ];
            buildInputs = [ pkgs.raylib ];
            shellHook = ''
              echo "-I${pkgs.raylib}/include" > compile_flags.txt
            '';
          });

      # ...

    };
Here we are defining a dev shell that has both clang (which includes clangd) and raylib
packages available. We also define a shellHook which runs on entering the shell. This creates a
compile_flags.txt file which configures flags that are given to the compiler. More importantly,
it tells clangd, the LSP we will be using, where to find the raylib headers.
Now we can enter the dev shell by running the following command:
nix develop
# Or to drop straight into your normal shell environment (in my case, fish)
nix develop --command fish
Configuring the LSP
Now that we’re in a dev shell, we can configure neovim to use the clangd LSP server for our
project. I don’t want to assume much about your neovim set up so we’ll do this via the built in
option. For the nvim config, we just need to configure and the enable the clangd server. To do
this, add the following snippet somewhere in your neovim lua config:
vim.lsp.config["clangd"] = {
  -- Command to run for the language server
  cmd = { "clangd" },
  -- which file types to run the server for
  filetypes = { "c" },
  -- How to find the root of the project
  root_markers = { ".git", "compile_flags.txt" },
}
-- Enable the language server
vim.lsp.enable("clangd")
If you just have an init.lua with the above code, you can run nvim and check the configuration
has worked by running :checkhealth lsp. You should see the following output:
vim.lsp: Enabled Configurations ~
- clangd:
  - cmd: { "clangd" }
  - filetypes: c
  - root_markers: { ".git", "compile_flags.txt" }
If you have clangd available in you system (outside of the nix dev shell), it should automatically
start up when you open the src/main.c file and, if you haven’t generated the compile_flags.txt
file yet, diplay errors because it can’t find raylib.h. To display a floating window with the
first error, run :lua vim.diagnostic.goto_next().
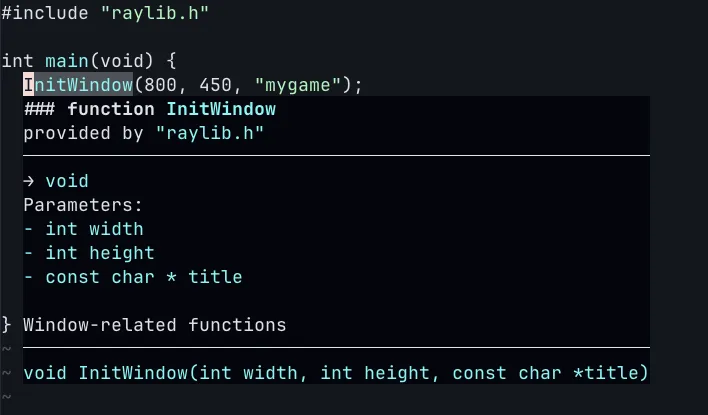
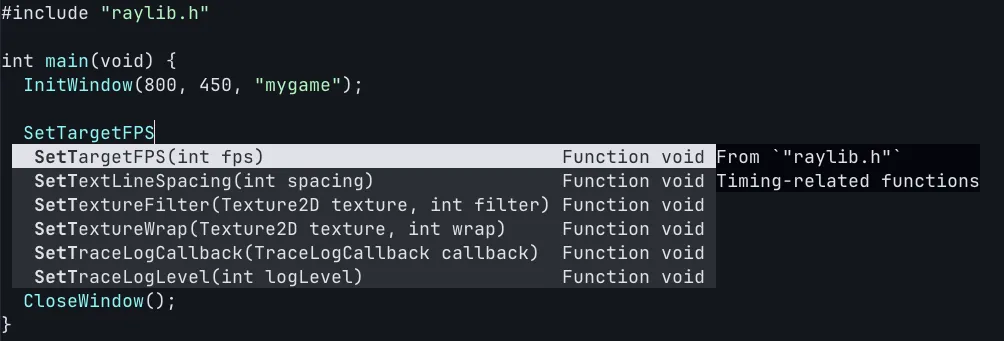
Now all you need to do is run nix develop and then open the src/main.c file again and you should
see that the errors are gone! You can also trigger omnicompletion by pressing <C-x><C-o>, and see
hover documentation by pressing K with the cursor on a function.
Conclusion
So now you should be all set to start working on a raylib project in neovim using nix to handle all the dependencies! From here, you can add other C libraries to your project as required and be sure that anyone else working on your game will have an easy time getting started as the development environment is all set up for them.
Hopefully this has been helpful in getting you started and you will continue to experiment with
raylib and build some games!